
By the time a brown ring appears on a bedroom ceiling, water has already won the early rounds. It traveled through the shingle layer, soaked the underlayment, found a seam in the decking, ran along a rafter, saturated the insulation, and only then reached drywall where you could see it. That journey often takes weeks. A smart leak sensor compresses your reaction window from weeks down to hours — sometimes minutes — by detecting moisture at the first point it reaches inside the assembly, long before it surfaces anywhere visible.
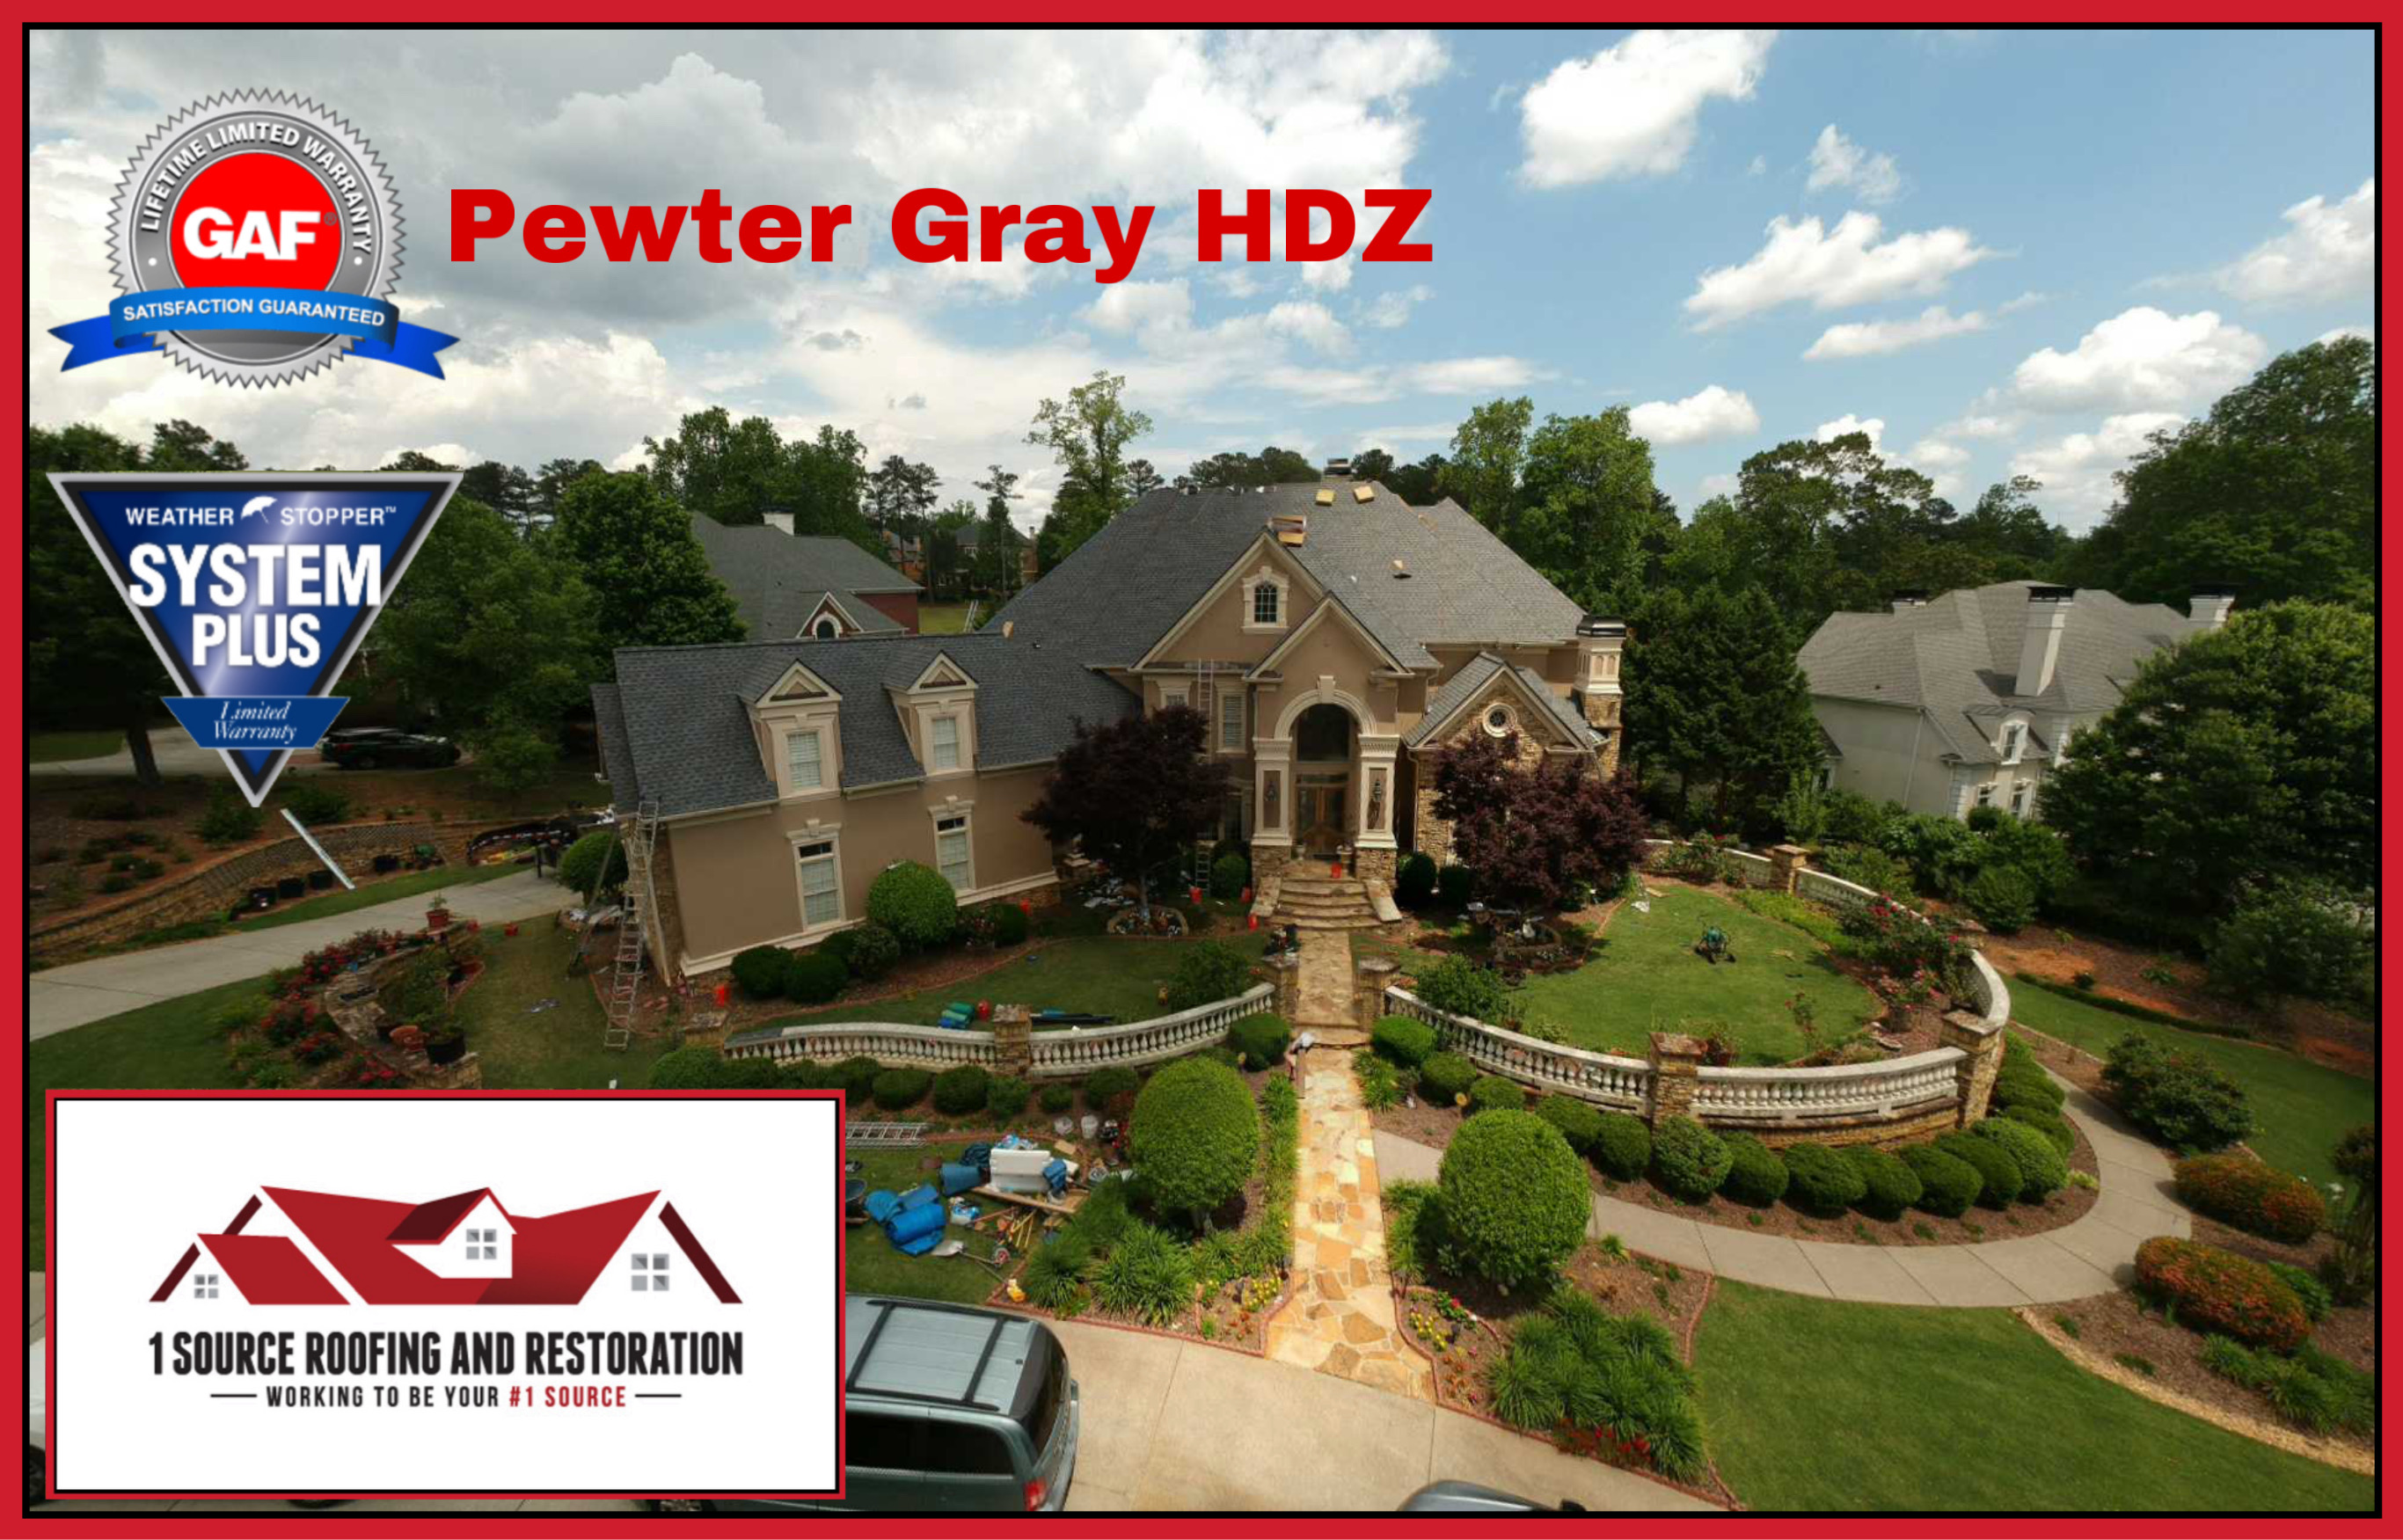
For metro Atlanta homeowners, the case is straightforward. This region sees roughly 50 inches of rain a year, frequent severe-thunderstorm wind, and a hail season that punishes roofs across Fulton, Cobb, Gwinnett, and Cherokee counties. A wind-lifted shingle or a hail-bruised flashing detail can let water in quietly, and the gap between when infiltration starts and when you notice it is exactly where the most expensive damage accumulates. Internet-of-things leak sensors close that gap.
This guide explains how the technology actually works, which sensor types fit which parts of a roof assembly, where to place them for real coverage, how the alerts reach you, and — critically — why a monitoring layer is a complement to a sound roof and a professional inspection, never a replacement for either. A sensor tells you water arrived; it does not tell you why, and it cannot keep water out. The two work together.
1. How a Smart Roof Leak Sensor Actually Works
At its simplest, a leak sensor is a device that detects the presence of water and reports it. What makes a modern sensor "smart" is the second half of that sentence: it does not just beep locally, it sends a timestamped alert to your phone over a wireless network, logs the event, and can trigger downstream actions like a siren, a smart-home routine, or an automatic water shutoff valve elsewhere in the house.
Most residential units detect moisture one of two ways. Conductive sensors place two or more metal contacts a small distance apart. Dry air does not conduct electricity, so the circuit stays open. When water bridges the contacts, the circuit closes and the device registers a leak. This is the most common, lowest-cost, and most reliable method for point detection. Capacitive and resistive sensors measure changes in an electrical field or material resistance as moisture accumulates, which lets them detect dampness and humidity gradients rather than only standing water — useful for catching slow seepage before a puddle forms.
The "IoT" part is the communication stack. A battery-powered sensor spends almost all its life asleep to conserve power, waking briefly to report status or instantly when it detects water. It transmits to a hub or directly to your router, which relays the alert through the cloud to an app. Better systems also keep a local record so the event survives an internet outage — important during the same storms most likely to cause a roof leak.
It helps to think of the sensor as the smoke detector of your roof system. A smoke detector does not prevent fires; it shortens the time between ignition and your response so the damage stays small. A leak sensor does the same job for water. The value is entirely in the early warning.
2. The Main Types of Leak Sensors and What Each Is For
Not every sensor suits every location. A roof and attic present several distinct moisture-risk geometries — a single low spot below a flashing detail, a long linear valley, a broad attic floor — and matching the sensor form factor to the geometry is what produces real coverage rather than the illusion of it.
- Point (puck) sensors — a small disc with contacts on its underside. Ideal for a specific low spot: beneath a chimney cricket, under a skylight curb, at a known prior stain. Inexpensive enough to deploy in quantity, but each one covers only the few square inches it sits on.
- Rope and cable sensors — a moisture-sensitive cable, often several feet long, that detects water anywhere along its length and frequently reports where the contact occurred. Built for long runs: the full base of a valley, the entire eave line, the perimeter of a mechanical platform.
- Probe and remote-lead sensors — a hub-mounted unit with a thin sensing wire you route to a tight or hard-to-reach gap, letting you monitor a spot the body of the device could never fit.
- Humidity and temperature sensors — not leak detectors in the strict sense, but in an attic they flag the conditions that precede and follow leaks: a humidity spike after a storm, or the sustained dampness that signals a ventilation problem worth a balanced ridge-and-soffit ventilation review.
- Flow and shutoff sensors — plumbing-side devices that monitor whole-house water use and can cut supply automatically. Not roof sensors, but the same ecosystem and often the units that earn an insurance credit.
For most homes, a layered mix is correct: rope sensors along valleys and the eave, point sensors at each penetration and below each flashing transition, and an attic humidity sensor to surface ventilation issues. The goal is to cover the paths water actually takes, which is something best mapped by someone who understands roof assemblies — the same expertise behind a quality roof repair.
3. Where to Place Sensors for Coverage That Matters
Placement is where most DIY sensor deployments fall short. Scattering a few pucks across an attic floor feels like protection, but water rarely lands where it is convenient to detect. It follows gravity along framing members and pools at low points dictated by the roof's geometry. Effective placement means thinking like the water.
The highest-value positions, in rough priority order, are the base of each valley, the attic floor directly under chimney and skylight flashing, the area around plumbing vent stacks and HVAC penetrations, the eave line where the ice-and-water shield membrane terminates, and beneath any existing stain or prior repair. Valleys and penetrations account for a disproportionate share of residential leaks because they concentrate water flow and depend on flashing details that degrade — which is why kickout flashing and proper step flashing at roof-to-wall transitions matter so much to a dry attic.
Two practical cautions. First, mount sensors where water will reach them, not on top of insulation that wicks moisture away before a contact-based unit can register it; a sensor sitting high on a batt may stay dry while the decking above it soaks. Second, confirm wireless signal at each location before you commit — attics are signal-hostile environments full of foil-faced sheathing and radiant barriers that block 2.4 GHz, which is one reason hub-based Z-Wave or Zigbee networks often outperform Wi-Fi-only sensors here.
Sensors detect water; they do not keep it out. The most reliable early-warning placement still depends on a sound roof above it. Map your sensor positions during a professional inspection so the monitoring layer covers your roof's specific valleys, penetrations, and flashing details — not a generic grid.
4. Alerts, Monitoring, and What Happens When Water Hits
A sensor is only as useful as the alert it produces, and a missed notification is the same as no sensor at all. When a unit detects moisture, a well-designed system does several things at once: it pushes a notification to every paired phone, sounds a local audible alarm, logs the event with a timestamp, and — if you have configured it — runs an automation such as closing a plumbing shutoff valve or flashing a smart bulb.
Redundant alerting matters because the failure modes are predictable. Phones get silenced overnight, exactly when a slow overnight rain does its quiet damage. A single push notification can be missed; a notification plus a loud local siren plus an email is far harder to ignore. The strongest setups also notify a second household member or a trusted neighbor, so a leak that starts while you are traveling does not run unchecked for a week.
The timestamp deserves special attention for Georgia homeowners. When a hail or wind event triggers a claim, the most contested question is often when the damage occurred and whether it ties to a specific covered storm. A sensor log that records moisture beginning within hours of a documented storm is concrete, objective evidence — the kind that supports a clean claim. Pairing that data with proper storm-damage documentation and our insurance claims assistance turns a vague timeline into a defensible one.
5. Comparing the Common Sensor Technologies
Homeowners researching systems quickly run into a wall of brand names, but the meaningful decision is the wireless protocol and power source underneath the brand. The table below compares the approaches you will actually choose between for attic and roof monitoring.
| Technology | Range / Reliability in Attic | Battery Life | Best Suited For |
|---|---|---|---|
| Wi-Fi (direct to router) | Limited by router reach; weak in foil-lined attics | 1–2 yrs | Small homes, strong attic signal, no hub desired |
| Zigbee (hub-based) | Strong; mesh extends through the home | 2–4 yrs | Multi-sensor deployments; smart-home integration |
| Z-Wave (hub-based) | Strong; long range, low interference | 3–5 yrs | Larger estate homes; whole-house systems |
| LoRa / sub-GHz | Excellent; penetrates dense framing and distance | 3–7 yrs | Sprawling roofs, detached structures, outbuildings |
| Rope / cable sensor | Linear coverage along entire run | Depends on host hub | Long valleys, eave lines, mechanical platforms |
| Hardwired commercial | Highest reliability; no battery concern | N/A (powered) | Commercial flat roofs; managed-asset buildings |
For a typical Atlanta residence, a hub-based Z-Wave or Zigbee system with a mix of point and rope sensors hits the right balance of reliability, battery longevity, and expandability. For sprawling estate roofs in Alpharetta or detached carriage houses, sub-GHz LoRa earns its premium by reaching where a mesh thins out. Commercial properties are a separate conversation entirely, covered below.
6. Integrating Sensors With Your Roof System and Smart Home
The most powerful configurations connect leak detection to action. A point sensor that simply chirps is useful; a sensor that, on detecting water, automatically closes the main water shutoff valve and texts the homeowner is in a different category. While a roof leak is not a plumbing leak, the same hub orchestrates both, and the discipline of building automations around water events tends to make the whole household more resilient.
Sensor data also surfaces problems a roof inspection might only catch annually. A persistent attic humidity reading that never drops after rain points to trapped moisture and likely ventilation imbalance — the kind of issue addressed by a proper attic-and-roof-as-one-system approach to insulation and airflow. A temperature spike in summer that runs far above outdoor highs suggests inadequate exhaust venting, which shortens shingle life across Georgia's long cooling season and undermines the energy logic behind upgrades like radiant barrier decking.
Integration is also where sensors connect to the broader trend of diagnostic roofing technology. The same homeowner investing in continuous monitoring is often the one who values drone roof inspections for documentation and infrared thermal imaging for finding hidden moisture during an inspection. Sensors handle the continuous watch between visits; drones and thermal cameras handle the deep diagnostic when a professional is on site. Together they form a layered, evidence-rich approach to protecting the roof asset.
Map Your Roof's Real Risk Points
Our inspectors identify the valleys, penetrations, and flashing details where leaks actually start — so any monitoring you add covers what matters. Free, no obligation.
Call (404) 277-13777. DIY Sensors vs. a Professionally Mapped System
Off-the-shelf sensor kits are widely available and genuinely useful, and there is nothing wrong with a homeowner placing a few units in obvious spots. The limitation is not the hardware — it is knowing where water goes. A homeowner sees an attic floor; a roofer sees the drainage geometry of the roof above it, the flashing details most likely to fail, and the framing paths water will follow once it gets in.
That difference shows up in coverage. A DIY deployment tends to cluster sensors near the attic hatch and other accessible spots, leaving the far valleys and the eave perimeter — the highest-risk zones — unmonitored. A professionally mapped layout starts from the roof's actual leak risk and works inward, placing sensors where the assembly is most vulnerable. The hardware can be identical; the protection is not.
There is also the question of what the sensor is protecting. A monitoring layer over a roof that is already near the end of its service life is a way to manage a known risk, but it is not a substitute for addressing the underlying condition. When an inspection reveals widespread granule loss, repeated valley failures, or aging flashing throughout, the durable answer is a roof replacement with modern synthetic underlayment and properly detailed flashing — with sensors added afterward as the early-warning layer on a sound system.
8. Leak Monitoring on Commercial and Flat Roofs
Commercial low-slope roofs are where continuous leak monitoring delivers its strongest return. A flat or low-slope membrane covers far more area than a residential pitched roof, hides leaks under insulation and ballast where they spread laterally before surfacing, and protects high-value interiors and equipment. For a property manager, a single undetected membrane breach can mean a six-figure interior loss and tenant disruption.
Commercial-grade systems frequently use hardwired sensor grids or permanent electronic leak-detection arrays embedded in the roof assembly, monitored continuously rather than depending on batteries. These integrate naturally with a roof asset management program, where the monitoring data feeds maintenance scheduling and capital planning. When paired with periodic restoration coatings, the combination extends membrane service life while keeping moisture risk under continuous watch.
The membrane choice itself interacts with monitoring strategy. The seam-and-fastener patterns of TPO, EPDM, and PVC membranes create predictable failure points that sensors can target, while seamless systems like spray polyurethane foam and liquid-applied membranes change the leak geometry entirely. Whatever the assembly, a professional commercial roofing assessment defines where monitoring adds value and where it would only add cost.
9. Insurance, Documentation, and the Value of a Timeline
The financial case for monitoring extends well beyond the repair you prevent. Sensors generate something insurers and contractors both value: an objective, timestamped record of when water intrusion began.
Georgia's insurance landscape has tightened in recent years, with many carriers shifting roof claims toward Actual Cash Value rather than Replacement Cost Value and scrutinizing whether damage stems from a sudden covered peril or gradual, excluded wear. A sensor log that shows moisture appearing within hours of a documented hail or wind event directly supports the "sudden and accidental" standard that coverage hinges on. Without that data, the timeline becomes a matter of argument; with it, the timeline is a recorded fact.
Some Georgia insurers also offer premium credits for monitored water-detection systems, most reliably for automatic plumbing shutoff devices and increasingly for documented whole-home leak monitoring. The credit alone rarely pays for a system, but combined with prevented losses and stronger claim positioning, the math favors monitoring for most homeowners. Keep your sensor logs and maintenance records together as part of your home file — and lean on professional claims assistance when an event does occur.
A leak detected in hours is a $400 repair. The same leak found at the ceiling stain is a four- to five-figure restoration. Trapped moisture supports mold within 24 to 72 hours — the entire value of monitoring lives inside that window.
10. The Honest Limitations of Leak Sensors
A balanced view requires naming what sensors cannot do. They are an early-warning layer with real boundaries, and treating them as more than that creates a false sense of security that can do harm.
A sensor only detects water that reaches it. A leak that runs down a rafter and pools three feet from the nearest unit goes unreported until it spreads — which is precisely why placement and coverage density matter, and why a professionally mapped layout beats a sparse DIY scatter. Sensors also detect water only after it has entered the assembly; they offer no warning of the lifted shingle, the cracked pipe boot, or the failing flashing that is about to let water in. That preventive visibility comes only from inspection, ideally on the cadence outlined in a seasonal maintenance routine.
Then there is the maintenance the system itself requires. Batteries die, hubs lose connectivity, firmware needs updating, and a sensor that silently went offline months ago is worse than none because you believe you are covered. Twice-yearly testing is not optional. None of this argues against sensors — it argues for treating them as one disciplined layer in a roof-protection strategy that still rests on a sound roof, professional inspection, and prompt repair.
11. Getting Started: A Practical Path for Atlanta Homeowners
The sensible sequence puts the roof first. Begin with a professional inspection that establishes the roof's actual condition and identifies whether monitoring is layering protection over a sound system or papering over a problem that needs real work. From there, the path is straightforward.
If the roof is sound, map the risk points — valleys, penetrations, flashing transitions, eave line, prior stains — and choose a hub-based Z-Wave or Zigbee system sized to cover them, mixing rope sensors on the long runs with point sensors at the discrete low spots. Confirm wireless signal at every planned location, configure redundant alerting to at least two people, and integrate a plumbing shutoff if you want the system to act and not just notify. Then commit to the twice-yearly test that keeps the whole thing honest.
If the inspection reveals an aging or compromised roof, the priority shifts. The durable protection is a properly detailed roof — quality underlayment, correct valley and flashing work, balanced ventilation — and sensors become the finishing layer added to a system built to keep water out in the first place. Either way, the assessment is the starting point, and for 1Source it is free and carries no obligation. We serve homeowners across Buckhead, Sandy Springs, Johns Creek, and the wider metro Atlanta area, and we are glad to talk through both the roof and the technology that protects it.
Schedule Your Free Roof Assessment
We inspect the roof, map your real leak-risk points, and advise on monitoring that fits your home — before any commitment. Serving Atlanta, Buckhead, Roswell, and all of metro Atlanta.
(404) 277-1377 — No ObligationCertified by Industry-Leading Manufacturers