
Roofing Inspection Checklist in Georgia
Georgia building inspectors verify every roofing installation against the IRC. This guide covers every item on the pre-cover and final inspection checklists, the most common fail points, how to prepare for inspection, and what happens when a roof does not pass.
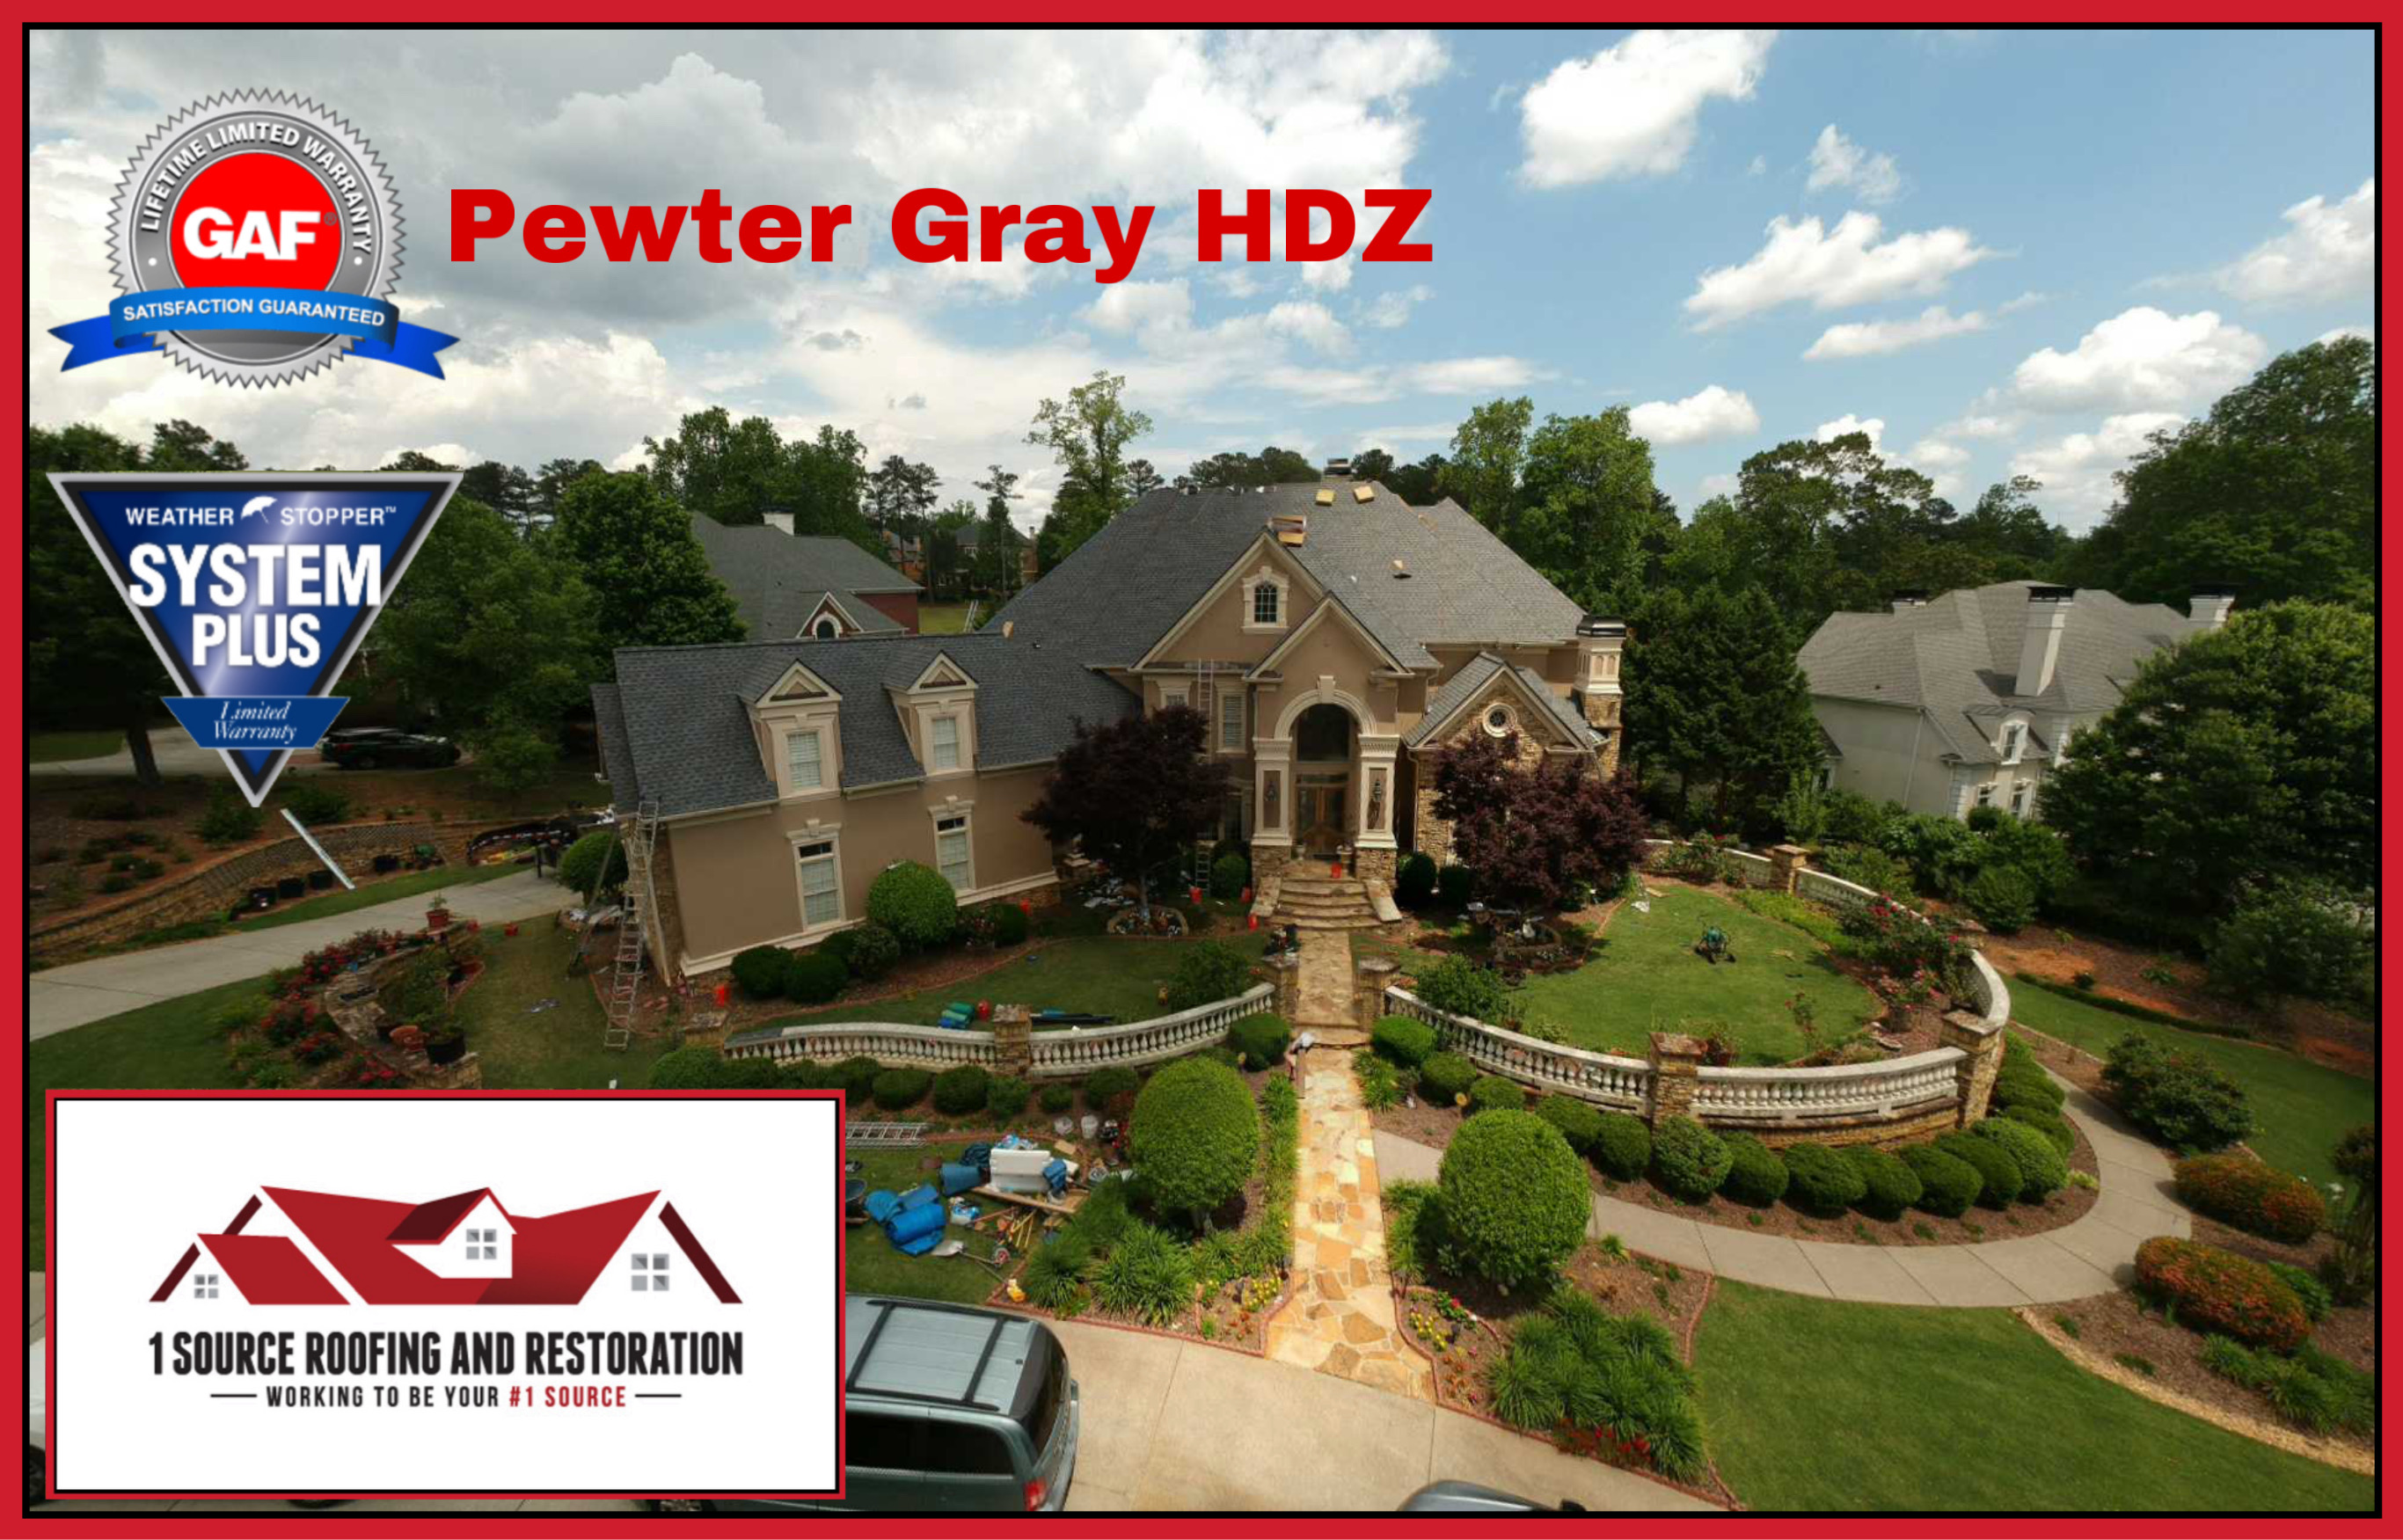
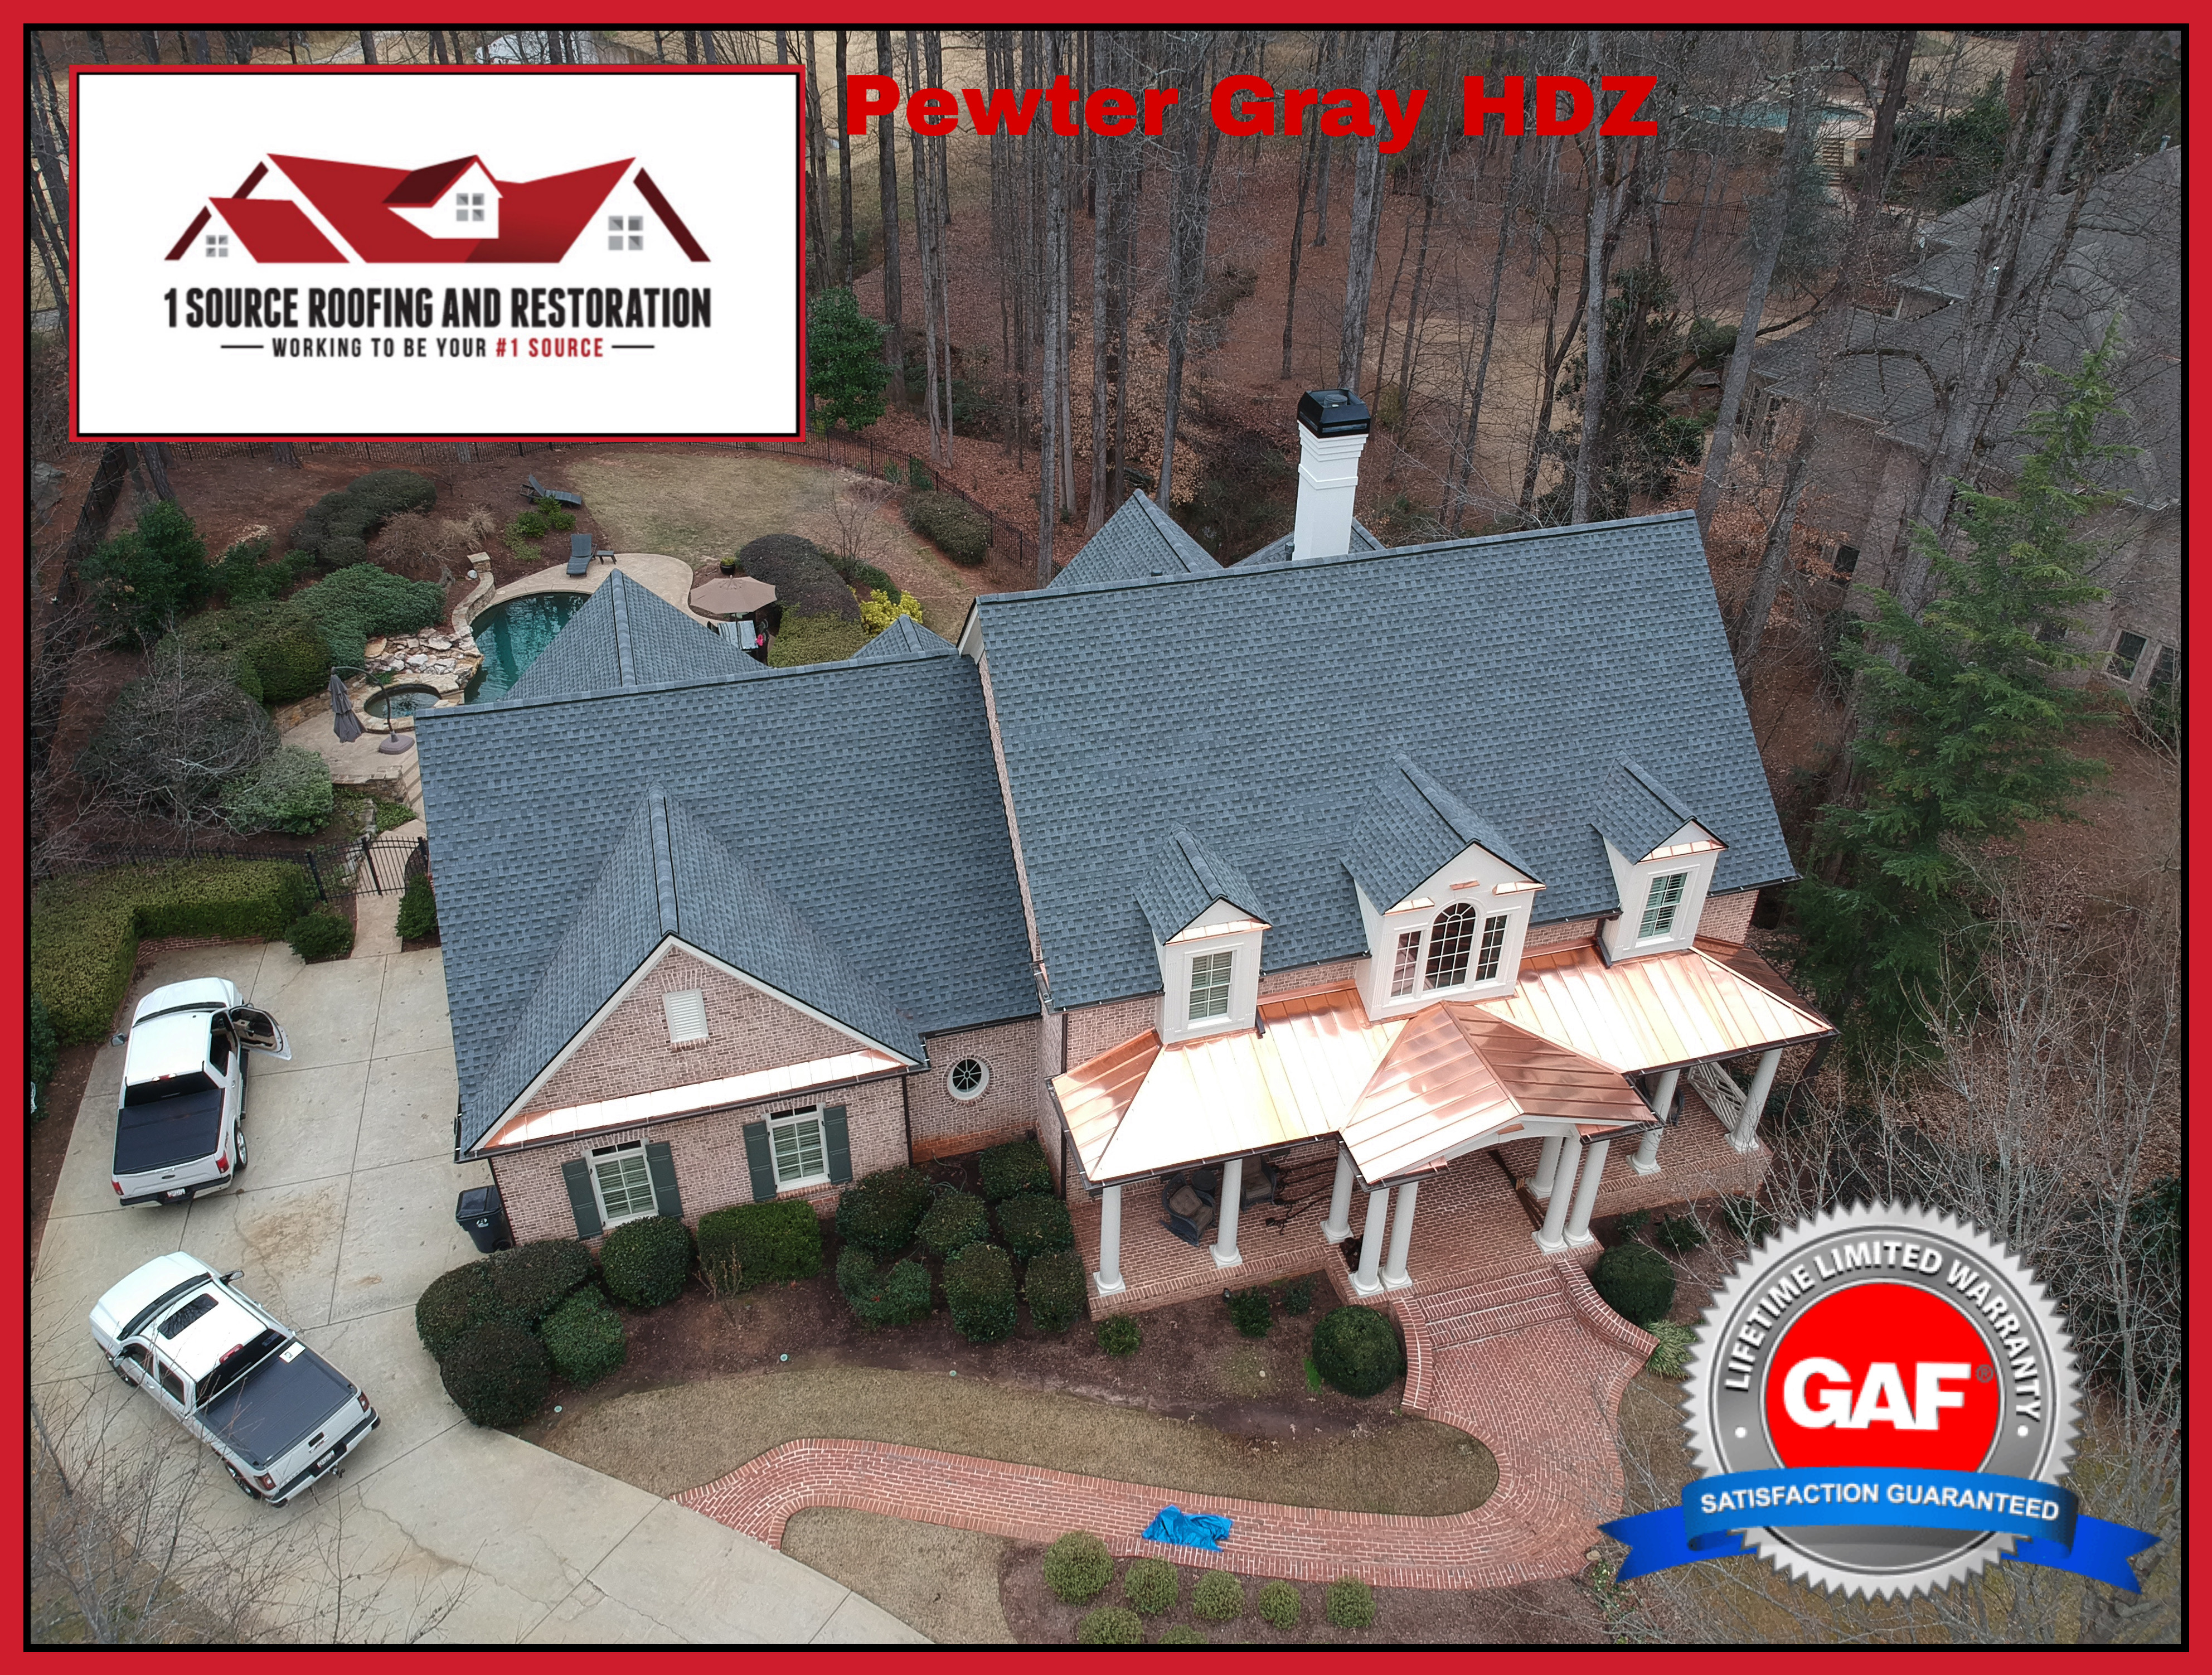
Certified by Industry-Leading Manufacturers
Georgia's Two-Phase Roofing Inspection Process
Georgia building departments inspect roofing projects in two phases. The pre-cover inspection happens after the contractor installs the deck repair, underlayment, flashing, and drip edge but before the shingles go on. The final inspection happens after the project is complete. Both inspections must pass before the building department closes the permit.
Not every jurisdiction requires both phases. Some smaller municipalities combine the inspections into a single final inspection. The major metro Atlanta counties, including Gwinnett, Fulton, Cobb, and DeKalb, require both phases on full roof replacement projects. Repair permits may require only a final inspection depending on the scope of work.
The contractor calls in each inspection after completing the relevant phase of work. The building department schedules the inspection within 24 to 48 hours under normal conditions. During peak storm season (May through September), when permit volume surges across metro Atlanta, scheduling can extend to 3 to 5 business days. The contractor cannot proceed to shingle installation until the pre-cover inspection passes. Covering the underlayment and flashing before the inspector arrives results in an automatic fail and a re-inspection requirement.
Our team at 1 Source Roofing coordinates both inspection phases on every permitted project. We build the inspection timing into our project schedule so the homeowner knows when each phase will occur. We do not proceed past the pre-cover phase until the inspector approves the underlayment and flashing work. For the broader code framework, see our Georgia residential roofing code guide.
Pre-Cover Inspection: What the Inspector Checks Before Shingles
The pre-cover inspection is the most critical phase because it verifies the components that will be hidden once the shingles go on. After this point, the inspector cannot see the underlayment, flashing details, or deck condition without removing the finished roof. Every item on this checklist must be visible and accessible when the inspector arrives.
| Item | Code Reference | What the Inspector Checks | Common Fail Reason |
|---|---|---|---|
| Roof deck condition | R803.2 | Plywood/OSB integrity, no rot, proper thickness (min 7/16" OSB or 15/32" plywood) | Rotted deck sections not replaced |
| Deck fastening | R803.2.1 | 8d ring-shank nails at 6" OC edges, 12" OC field | Staples used instead of nails |
| Underlayment | R905.1.1 | ASTM-rated felt or synthetic, full coverage, proper overlap (4" horizontal, 6" end laps) | Gaps in coverage, insufficient overlap |
| Drip edge at eave | R905.2.8.5 | Metal drip edge under underlayment at eave, extending past deck edge | Drip edge over underlayment (reversed) |
| Drip edge at rake | R905.2.8.5 | Metal drip edge over underlayment at rake | Missing at rake entirely |
| Valley flashing | R905.2.8.2 | Metal or ice-and-water shield in all valleys, 24" wide minimum | Woven valley without underlying protection |
| Wall flashing | R903.2.1 | Step flashing at roof-to-wall, 4" onto wall and roof surfaces | Flashing too short, gaps between pieces |
| Chimney cricket | R903.2.2 | Cricket behind chimneys wider than 30 inches | Missing on qualifying chimneys |
| Pipe/vent flashing | R903.2 | Flashing boots around all pipe penetrations | Old boots reused instead of replaced |
| Ice barrier (where required) | R905.1.2 | Self-adhering membrane at eaves in ice-prone areas | Not extending 24" past interior wall line |
The pre-cover inspection takes 15 to 30 minutes. The inspector walks the roof surface, checks each item against the code, photographs the installation, and records the result. A passing inspection clears the contractor to install shingles. A failing inspection generates a correction notice with specific items to address before re-inspection.
For detailed requirements on individual checklist items, see our guides on drip edge code, flashing code, cricket requirements, and underlayment standards.
Final Inspection: What the Inspector Checks After Completion
The final inspection verifies the finished roof. The inspector evaluates the visible components: shingle installation, ridge treatment, ventilation, kickout flashing, and site cleanup. This inspection confirms that the contractor completed the work to code and that the roof is ready for service.
| Item | Code Reference | What the Inspector Checks | Common Fail Reason |
|---|---|---|---|
| Shingle installation | R905.2 | Proper offset pattern (min 4" stagger), correct exposure | Insufficient stagger, visible nail heads |
| Nail pattern | R905.2.6 | 4 nails per shingle (6 in high-wind zones), placed per manufacturer specs | High nailing, insufficient nails in wind zone |
| Ridge cap | R905.2 | Ridge cap shingles installed with proper overlap and fastening | Field shingles used as ridge cap |
| Ventilation | R806 | 1:150 or 1:300 NFA ratio met, balanced intake and exhaust | Insufficient NFA, blocked soffit vents |
| Kickout flashing | R903.2.1 | Diverter at every roof-to-wall termination above gutter | Missing at one or more locations |
| Pipe boot sealing | R903.2 | Rubber boots seated and sealed around all pipe penetrations | Boot not sealed to pipe, shingles not dressed around boot |
| Gutter integration | Local codes | Drip edge extends into gutter, downspouts connected | Gap between drip edge and gutter |
| Site cleanup | Permit condition | Debris removed, nails swept, landscaping protected | Nails in driveway, debris in yard |
The final inspection takes 15 to 20 minutes. The inspector walks the property perimeter, views the roof from the ground and ladder, and checks each visible component. On steep roofs where walking is unsafe, the inspector uses binoculars or a drone to verify shingle installation and ridge details.
For ventilation requirements that inspectors check during the final phase, see our ventilation code guide. For kickout flashing details, see our kickout flashing code page.
The Five Most Common Roofing Inspection Failures in Metro Atlanta
Building inspectors across Gwinnett, Fulton, Cobb, and DeKalb counties see the same failures on a regular basis. These are the items that cause the most correction notices and re-inspections across metro Atlanta.
1. Missing Drip Edge at the Rake
The number one fail point. Contractors install drip edge at the eave where it feeds into the gutter but skip the rake (side edge). The code requires drip edge at both eaves and rakes. The fix requires lifting shingles along the rake, installing drip edge over the underlayment, and re-sealing the shingle edge. Time to correct: 2 to 4 hours. Cost to the contractor: $300 to $600 in labor.
2. Reversed Drip Edge Sequence at Eave
Drip edge installed over the underlayment at the eave instead of under it. The correct sequence places drip edge on the deck first, with the underlayment overlapping over the drip edge. The reversed sequence allows water to run behind the drip edge and onto the fascia. Inspectors check this by lifting the underlayment edge at the eave.
3. Missing Kickout Flashing
Every roof-to-wall transition that terminates at a gutter or open eave needs a kickout diverter. Contractors skip this piece because it requires an extra step at each location. The inspector walks the eave line and checks every roof-to-wall termination. One missing kickout fails the entire inspection.
4. Insufficient Ventilation
The ventilation code requires a specific ratio of net free ventilation area to attic floor area (1:150 without a vapor retarder, 1:300 with one). Inspectors calculate the required NFA and compare it to the installed vent area. Common problems: blocked soffit vents (insulation pushed against the vent opening), insufficient ridge vent length, or mixing exhaust vent types (ridge vent plus powered attic vent creates short-circuiting).
5. Missing Chimney Cricket
Chimneys wider than 30 inches require a cricket on the uphill side. Inspectors measure the chimney during the pre-cover inspection and verify that a cricket exists if the chimney triggers the 30-inch threshold. Missing crickets are common on reroofing projects where the original roof never had one and the contractor did not add it.
"Five items cause 80% of roofing inspection failures in metro Atlanta. Every one of them is preventable with correct installation the first time."
Pass Your Roof Inspection the First Time
1 Source Roofing pulls permits and passes inspections because we install every component to code. GAF Certified, CertainTeed Certified, and working across all metro Atlanta jurisdictions.
Call (404) 277-1377How to Prepare for a Roofing Inspection in Georgia
The homeowner's role during the inspection process is limited but important. The contractor handles the technical work and the inspection scheduling. The homeowner needs to ensure access, verify the permit, and understand the timeline.
Before the Pre-Cover Inspection
- Verify the permit is posted: Georgia requires the building permit to be posted and visible from the street. The inspector looks for the permit placard before starting the inspection. If the permit is not posted, the inspector may leave without inspecting.
- Ensure site access: The inspector needs access to the roof (ladder), the attic (for ventilation verification), and the property perimeter (for ground-level flashing and drip edge checks). Gate codes, locked attic hatches, and aggressive dogs all delay inspections.
- Confirm the contractor called it in: Ask your contractor to confirm the inspection request with the building department and provide you the confirmation number and scheduled window.
Before the Final Inspection
- Walk the property perimeter: Before the inspector arrives, walk around the house and look for debris, exposed nails in the driveway, and any visible installation issues. Alert your contractor to anything you notice so they can address it before the inspector arrives.
- Check gutter function: Run water from a hose into the gutter to verify that downspouts drain and the gutter system functions. A non-functional gutter can trigger a drainage concern during final inspection in some jurisdictions.
- Attic access: Open the attic hatch so the inspector can check ventilation without delay. Some inspectors skip the attic if access is difficult, which can result in a conditional pass that requires a follow-up visit.
For homeowners working with 1 Source Roofing, we handle the preparation checklist and coordinate all inspection logistics. We notify the homeowner when each inspection is scheduled and when it passes. The homeowner's project file includes copies of the inspection results and the closed permit documentation.
Re-Inspection Process, Fees, and Timeline
When a roof fails inspection, the inspector issues a correction notice that lists every item that does not meet code. The contractor must correct all items and request a re-inspection. The re-inspection verifies that the corrections address the specific items on the notice. The inspector may also check items that were borderline on the original inspection.
Re-Inspection Fees by Jurisdiction
| Jurisdiction | First Re-Inspection Fee | Second Re-Inspection Fee | Scheduling Window |
|---|---|---|---|
| Gwinnett County | $50 | $75 | 24-48 hours |
| Fulton County | $75 | $100 | 24-48 hours |
| Cobb County | $50 | $75 | 24-48 hours |
| DeKalb County | $50 | $75 | 24-72 hours |
| City of Atlanta | $75 | $100 | 48-72 hours |
Re-inspection fees are the contractor's responsibility, not the homeowner's. A reputable contractor absorbs the cost of re-inspections because the failure resulted from their installation work. If a contractor asks the homeowner to pay re-inspection fees, that contractor did not install the roof to code and is now passing the cost of their error to the customer.
Open Permit Consequences
An open permit remains on record with the building department until the inspection passes and the permit is closed. Open permits create problems during home sales. Title companies in Georgia run permit searches as part of the closing process. An open roofing permit shows up on the title search and can delay or block the sale until the homeowner resolves it. Resolving an open permit years after the fact costs more than passing the inspection during the original project.
Our team closes every permit on every project. We do not consider a job complete until the final inspection passes and the building department closes the permit. The homeowner receives documentation confirming the closed permit status.
How 1 Source Passes Inspections on Every Project
We pass inspections because we install every component to code before the inspector arrives. This is not a claim. It is a process. Our project managers carry the same checklist the building inspector uses and verify every item before calling in the inspection.
Our internal pre-inspection checklist mirrors the items above, plus additional manufacturer-specific requirements from GAF and CertainTeed that exceed the code minimum. The manufacturer's installation specifications address items the building code does not cover in detail, such as specific nail placement zones, sealant strip positioning, and starter strip overhang measurements.
Our Quality Sequence
- Crew chief self-inspection: The crew chief walks the roof after each phase and checks every item against the internal checklist before calling the office.
- Project manager verification: The project manager visits the site, photographs each checklist item, and confirms compliance before calling the building department for inspection.
- Building department inspection: The inspector arrives and evaluates the same items our team already verified. The inspection becomes a confirmation, not a discovery.
This three-step sequence eliminates surprises. The homeowner does not receive a call about a failed inspection because the items were caught and corrected during steps one and two. We invest the time in self-inspection so the building department inspection is a formality.
"We check every item before the building inspector arrives. The inspection confirms what we already verified."
For homeowners comparing contractors, ask a simple question: "Do you pull a permit and schedule inspections for every roofing project?" If the answer is no, or if the contractor suggests skipping the permit to save money, that contractor plans to install your roof without third-party verification. Our team pulls permits on every project, schedules both inspection phases, and closes the permit when the job passes. This protects your investment, your warranty, and your ability to sell the home in the future.
.JPG)
Roofing Inspection Checklist: Frequently Asked Questions
Answers to common questions about roofing inspections, pass/fail criteria, and the permit process in Georgia.
What does a building inspector check during a Georgia roofing inspection?
Georgia building inspectors check two phases: the pre-cover inspection (before shingles go on) and the final inspection (after completion). Pre-cover items include roof deck condition, underlayment installation, drip edge placement, flashing at walls and penetrations, ice and water shield in valleys, and cricket construction behind wide chimneys. Final inspection items include shingle installation pattern, ridge cap and ventilation, nail pattern compliance, kickout flashing, cleanup, and gutter integration.
How long does it take to schedule a roofing inspection in metro Atlanta?
Most building departments in metro Atlanta schedule inspections within 24 to 48 hours of the request. Gwinnett County, Fulton County, Cobb County, and DeKalb County all offer next-business-day inspections for roofing permits. During peak storm season (May through September), scheduling delays can extend to 3 to 5 business days due to high permit volume. The contractor calls the inspection in, and the inspector arrives within the scheduled window.
What are the most common reasons roofing inspections fail in Georgia?
The five most common fail points are: missing drip edge at the rake (eave drip edge is installed but rake is skipped), reversed drip edge installation sequence (over underlayment at eave instead of under), missing kickout flashing at roof-to-wall transitions, insufficient attic ventilation (not meeting the 1:150 or 1:300 ratio), and missing cricket behind chimneys wider than 30 inches. Each of these triggers a correction notice and re-inspection.
What happens if my roof fails inspection in Georgia?
The inspector issues a correction notice listing the specific code violations. The contractor must correct every item on the notice and request a re-inspection. Re-inspection fees vary by jurisdiction: Gwinnett County charges $50 for the first re-inspection, Fulton County charges $75, and Cobb County charges $50. The permit remains open until the roof passes inspection. An open permit can create complications during home sales because title companies flag unresolved permits.
Explore More Georgia Roofing Code Guides
- Georgia Residential Roofing Code Guide
- Drip Edge Code Requirements
- Kickout Flashing Code
- Roof Cricket and Saddle Code
- Roof Ventilation Code Requirements
- Roof Flashing Code in Georgia
- Underlayment Requirements
- Permit Requirements for Roof Replacement
- Roof Access and Fall Protection Code
- Roof Replacement Services