

Hip, Ridge, and Starter Shingle Installation Standards
Manufacturer-referenced installation guide for hip caps, ridge caps, and starter strips. From 1 Source Roofing, Atlanta's GAF and CertainTeed certified contractor.
Certified by Industry-Leading Manufacturers
Manufacturer Technical Bulletins
- Use of Hip, Ridge, and Starter Shingles (CertainTeed)
Why Dedicated Hip and Ridge Cap Shingles Matter
For decades, roofers made hip and ridge caps by cutting standard three-tab shingles into thirds and folding the resulting squares over the ridge line. It worked. It provided coverage. And for basic three-tab installations, the visual result was acceptable because the cap material matched the field material exactly. But the roofing industry moved beyond three-tab installations, and the practice of cutting field shingles for ridge caps should have moved with it.
Modern architectural (dimensional) shingles have a laminated construction — two or more layers bonded together to create the thick, textured profile that gives these shingles their visual depth. Cutting a laminated shingle into a hip or ridge cap produces an irregular, uneven piece that does not fold cleanly over a ridge. The laminated layers want to separate at the fold line, creating a raised, rough-looking cap that bears no visual relationship to the purpose-manufactured hip and ridge products designed for the same shingle line.
Purpose-manufactured hip and ridge cap shingles — GAF TimberTex, CertainTeed Shadow Ridge DecoRidge — are designed from the ground up to perform at the ridge. They are thicker than field shingles, contoured to straddle the ridge line with consistent dimensions on each side, and color-matched to the specific field shingle product being installed. Their adhesive strips are positioned for ridge-specific wind uplift forces, which are higher than anywhere else on the roof. The nailing zone is engineered so that fasteners are placed in the correct position to be covered by the next cap in the sequence.
Wind Resistance at the Ridge
The ridge is the single most wind-vulnerable location on any roof. Aerodynamic studies of wind loading on residential structures show that negative pressure (suction) at the ridge can exceed the positive pressure on the windward wall by a significant margin. This means the shingles at the ridge line experience greater uplift force than shingles anywhere else on the roof surface. Purpose-manufactured ridge caps with engineered adhesive strips and specified nailing patterns are designed to resist these forces. A cut three-tab square folded over the ridge and nailed with two nails is not.
CertainTeed's Hip Ridge and Starter Shingles technical literature specifically addresses the wind performance advantage of their dedicated products. The company tests its ridge cap products to specific wind speed ratings — ratings that a cut three-tab cap cannot achieve because it lacks the adhesive strip positioning and material thickness of the purpose-built product. On a home in metro Atlanta, where thunderstorm gusts regularly exceed 60 mph, the ridge caps are the first component that wind will test.
Aesthetic Integration
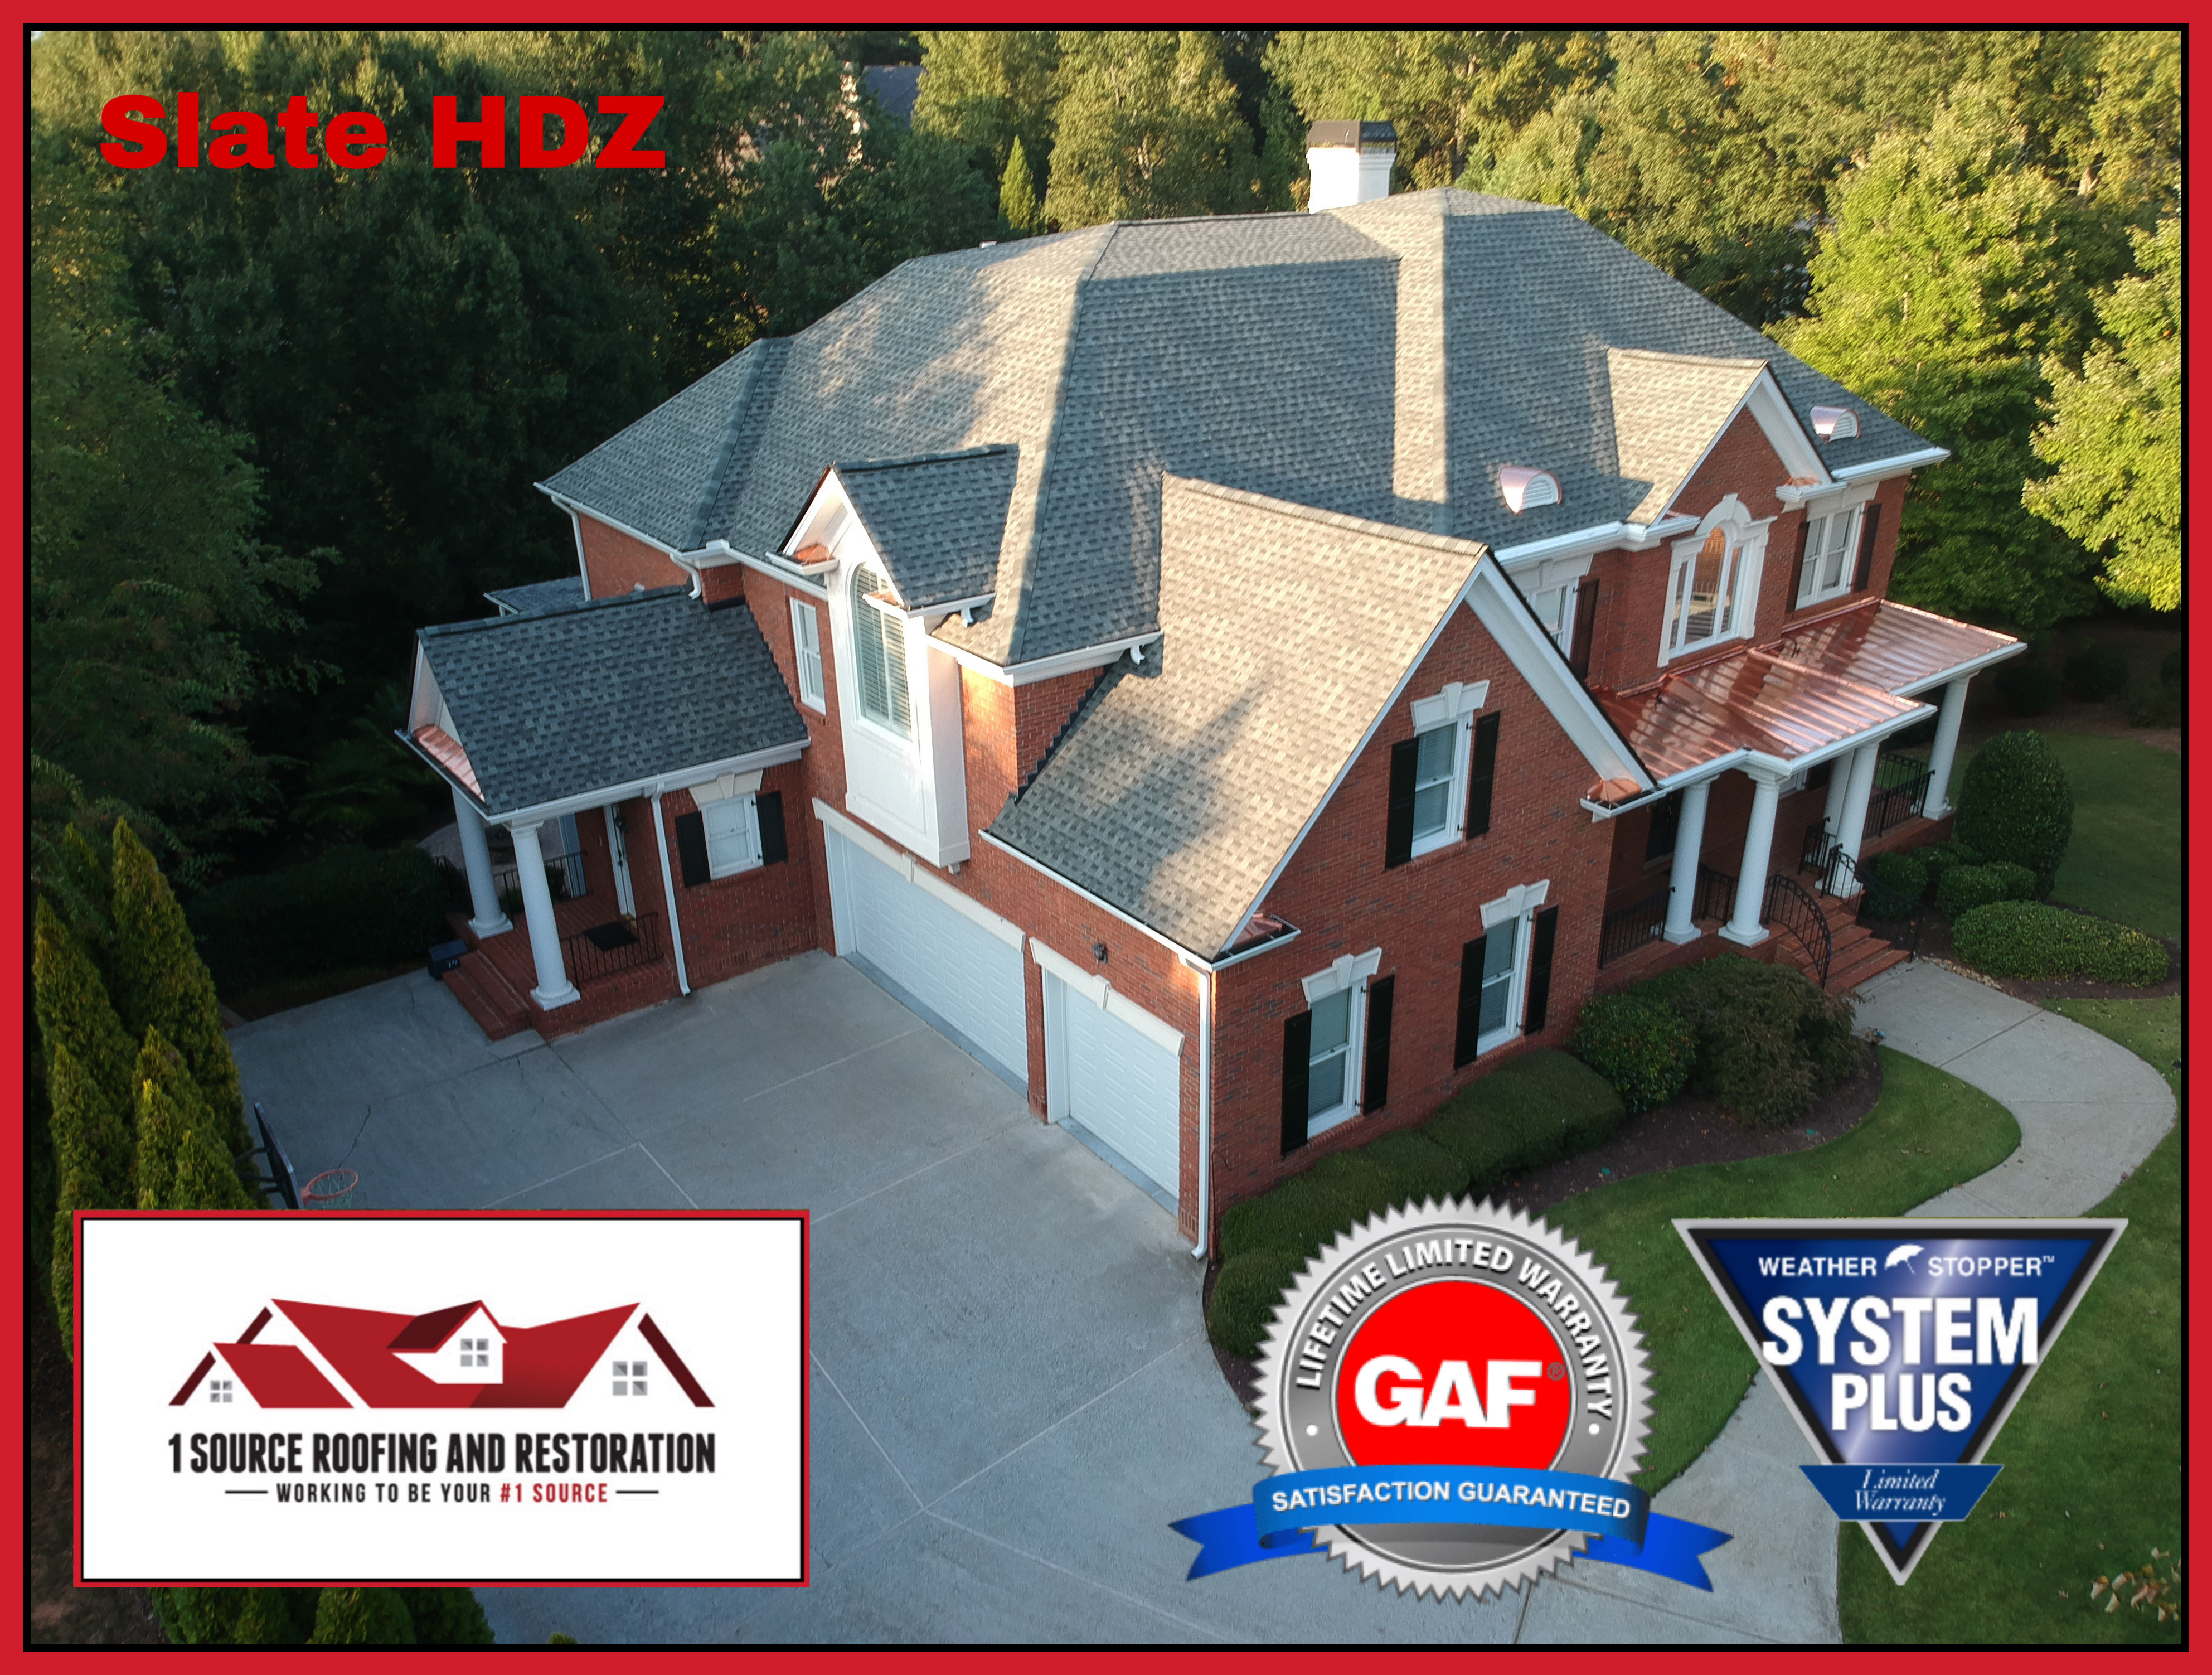
On a premium roof installation — GAF Timberline HDZ, CertainTeed Landmark Premium Duration — the ridge line is the most visible feature of the roof from street level. It runs the full length of the home, typically at the highest point, and it is the line the eye follows when evaluating the roof from any vantage. A ridge line capped with cut field shingles looks unfinished, inconsistent, and out of proportion with the dimensional profile of the field below.
Dedicated hip and ridge cap products match the color, granule blend, and visual profile of their corresponding field shingles. GAF TimberTex is designed to complement Timberline HDZ. CertainTeed Shadow Ridge is designed for the Landmark family. The color match, the profile thickness, and the exposure dimensions are all coordinated. Installing a premium field shingle and then capping it with a cut three-tab is a quality compromise that undermines the investment in the field material.
Proper Hip and Ridge Cap Installation
Correct hip and ridge cap installation follows manufacturer specifications that address overlap, exposure, nailing pattern, and directional orientation. These are not arbitrary measurements — they are the dimensions that the manufacturer has tested for wind performance and water shedding. Deviating from them risks both warranty coverage and physical performance.

Overlap and Exposure
The standard exposure for most hip and ridge cap products is 5-5/8 inches. This means each cap shingle overlaps the one beneath it by the cap's full dimension minus 5-5/8 inches. On a GAF TimberTex cap that is approximately 12 inches long, the overlap is approximately 6-3/8 inches. This overlap ensures that the nail heads from the cap below are fully covered, that the adhesive strip engages properly, and that the cap presents a consistent visual rhythm along the ridge.
Too much exposure — stretching the caps to cover more ridge length with fewer pieces — leaves inadequate overlap, exposes nail heads to weather, and reduces the adhesive bond area. Too little exposure creates excessive material buildup at the ridge, wastes caps, and produces a visually heavy, bunched appearance. The manufacturer's specified exposure is the correct exposure.
Nailing Pattern for Hip and Ridge Caps
Standard hip and ridge cap nailing requires two nails per cap, positioned approximately 1 inch from each side edge. The nails are placed at a specific distance from the exposed end of the cap — typically 5-5/8 inches, matching the exposure — so that the next cap in the sequence covers the nail heads completely. This means no fastener hardware is visible on the finished ridge, and every nail is protected from water entry by the cap above it.
The nail must penetrate through the cap, through the underlying field shingles, and into the roof deck to a minimum depth that provides adequate withdrawal resistance. On ridge boards, the decking is typically two layers of sheathing meeting at the ridge — providing good nail-holding capacity. On hips, the geometry of the intersection means nails must be carefully angled to avoid splitting the hip rafter or missing the sheathing entirely.
In high-wind zones or for enhanced wind warranty coverage, manufacturers may specify additional nails — four per cap instead of two — or require the application of roofing cement under the leading edge of each cap in addition to the factory-applied adhesive strip. GAF's requirements for their top-tier wind warranty coverage include specific nail placement patterns that exceed the standard two-nail minimum. 1 Source Roofing follows the manufacturer's enhanced specifications on every installation where the homeowner has opted for the maximum wind warranty.
Directional Orientation
Hip caps are installed from the eave toward the ridge, with each cap overlapping the one below it. The direction of installation ensures that water shed from the ridge cap flows over the top of each succeeding cap rather than under it. At the top of the hip where it meets the main ridge, the final hip cap is trimmed and integrated with the ridge cap line — a detail that requires skill and experience to execute cleanly.
Ridge caps are installed from the end of the ridge opposite the prevailing wind direction. In the Atlanta metro area, prevailing winds are typically from the west or northwest, so ridge cap installation generally starts at the east end and works west. This orients the cap overlaps so that wind pressure pushes the leading edges down rather than lifting them — the same principle that applies to field shingle installation.
Starter Strip Shingle Placement at Eaves and Rakes
Starter strip shingles are the first course of material installed at the eave and rake edges of the roof — the foundation upon which the entire field shingle installation builds. Despite their position as the literal starting point of the roof system, starter strips are one of the most frequently misunderstood and incorrectly installed components. A surprising number of roof failures, wind damage claims, and water intrusion problems trace back to improper starter strip installation.
What Starter Strips Do
The starter strip serves three specific functions. First, it provides the adhesive bond for the first course of field shingles. Every course of field shingles bonds to the course below via the thermal seal strip. But the first course has no field shingle below it — only the starter strip. Without the starter strip's adhesive, the first course of shingles has no seal strip bond, making the entire eave edge vulnerable to wind uplift. The eave is the second most wind-vulnerable area of the roof, after the ridge.
Second, the starter strip covers the gaps between the tabs of the first course of three-tab shingles, or the cutout lines of architectural shingles. Without a starter strip beneath, water running down the first course can enter through the tab gaps and reach the underlayment or deck beneath. On an architectural shingle with its irregular profile, the water entry points are less visually obvious but equally real.
Third, at the rake (the sloped edge of the roof), the starter strip provides a clean, sealed edge that prevents wind-driven rain from entering beneath the first column of field shingles. Rake edges are particularly vulnerable to wind-driven rain because water travels horizontally in gusts, not just vertically by gravity. The starter strip at the rake creates a sealed barrier against this horizontal water movement.
Eave Starter Installation
At the eave, the starter strip is installed with the adhesive strip facing up and positioned along the edge of the roof. The starter should overhang the drip edge by approximately 1/4 inch to 3/4 inch — enough to direct water into the gutter without creating a ledge that wind can catch. Both GAF and CertainTeed specify these overhang dimensions in their installation manuals, and they apply to their dedicated starter strip products (GAF Pro-Start, CertainTeed SwiftStart).
The starter strip is nailed according to the manufacturer's pattern — typically one nail approximately 3 to 4 inches from the eave edge and one nail near the top of the strip, at intervals of 12 to 24 inches along the length. The nails must not be placed so low that they are below the drip edge, where they would create water entry points at the fascia.
Rake Starter Installation
Rake starter placement follows the same principles but runs vertically along the roof's sloped edge rather than horizontally along the eave. The starter strip at the rake is positioned with its adhesive strip facing up, overhanging the rake drip edge by the same 1/4 inch to 3/4 inch. This provides the adhesive bond for the first column of field shingles and the sealed edge that prevents wind-driven rain from entering beneath the field shingles at the rake.
Where the eave starter and rake starter meet at the corner of the roof, the two pieces should overlap, with the rake starter laid over the eave starter. This creates a continuous sealed perimeter around the bottom and side edges of the roof. Failure to extend starter strips to the rakes — a shortcut that some contractors take — leaves the entire rake edge unsealed and vulnerable.
Concerned About Your Roof's Ridge or Starter Strips?
1 Source Roofing inspects every component of your roof system — hip caps, ridge caps, starter strips, and field shingles — during every free inspection.
Schedule Your Free InspectionWhy Manufacturer Systems Must Match
A roofing system is not a collection of individual components — it is an integrated assembly designed, tested, and warranted as a unit. GAF's warranty system requires GAF field shingles, GAF starter strips, GAF hip and ridge caps, and GAF underlayment. CertainTeed requires the same system-level consistency.'s system warranty follows the same principle. When any component is substituted with a competing manufacturer's product, the system warranty from both manufacturers is voided.
This is not a marketing gimmick. Manufacturer warranties are backed by performance testing that evaluates the system as a whole — field shingles sealed to starter strips sealed to hip and ridge caps, all with compatible adhesive formulations, all with nailing patterns designed for that specific product's dimensions. Substituting one manufacturer's ridge cap on another manufacturer's field shingle introduces an untested adhesive-to-surface combination, potentially incompatible dimensions, and a nailing pattern that does not align with the field shingle's design.
CertainTeed Hip Ridge and Starter Shingles with Limited Lifetime Warranty
CertainTeed packages their hip, ridge, and starter products under a unified product line with a limited lifetime warranty that integrates with their field shingle warranties. The Shadow Ridge hip and ridge cap is designed to coordinate with the Landmark, Landmark Premium, and Grand Manor shingle lines in both color and profile. The SwiftStart starter strip is engineered with the adhesive strip position and width matched to CertainTeed field shingles.
When a homeowner installs a CertainTeed Landmark Premium field with CertainTeed Shadow Ridge caps and CertainTeed SwiftStart starters, the entire system qualifies for CertainTeed's SureStart PLUS warranty coverage. Break the system by substituting a GAF ridge cap, and neither CertainTeed nor GAF will extend their system warranty to the installation. The homeowner loses warranty coverage not because of a defect, but because of a component mismatch that neither manufacturer will accept responsibility for.
GAF Underlayment Requirements for Hips and Ridges
GAF's installation specifications include underlayment requirements at hips and ridges that go beyond what many contractors apply. GAF recommends that their Deck-Armor or Tiger Paw underlayment extend across the hip and ridge lines to provide a secondary water barrier beneath the cap shingles. This underlayment layer ensures that if water penetrates beneath a hip or ridge cap — through a nail hole, a lifted cap, or a cap that has not yet sealed — the underlayment prevents that water from reaching the deck.
This is a detail that differentiates a manufacturer-specified installation from a contractor's interpretation of "good enough." Running underlayment up to the ridge and then folding it over — so both sides of the ridge are covered by underlayment before the ridge cap is installed — takes extra material and extra time. But it completes the waterproofing system at the roof's most vulnerable joint. 1 Source Roofing applies GAF-specified underlayment at all hips and ridges as standard practice. It is part of what the manufacturer requires for their top-tier warranty, and it is part of what correct installation demands.
For a comprehensive overview of all the installation standards we follow, visit our Roofing Technical Standards hub page.
Frequently Asked Questions About Hip, Ridge, and Starter Shingles
Answers to the questions homeowners ask most about ridge caps, hip caps, and starter strip installation
Why can't you just cut 3-tab shingles for hip and ridge caps?
Cutting 3-tab shingles into hip and ridge caps was standard practice decades ago, but it produces thinner, less durable caps that lack the profile and wind resistance of purpose-manufactured products. Dedicated hip and ridge cap shingles from GAF, CertainTeed are thicker, contoured to straddle the ridge properly, and designed to match the aesthetic profile of the field shingles. Using cut 3-tabs on a premium architectural shingle roof creates a visible quality mismatch and reduces wind resistance at the most vulnerable point on the roof.
What is the correct exposure for hip and ridge cap shingles?
Typical exposure for hip and ridge cap shingles is 5-5/8 inches, though this varies by manufacturer and product line. The exposure must follow the specific manufacturer's installation guidelines for the product being used. Too much exposure leaves inadequate overlap and reduces wind resistance. Too little exposure wastes material and creates unnecessary thickness buildup at the ridge.
Do starter shingles go on the rakes as well as the eaves?
Yes. Most manufacturers recommend starter strip shingles at both eaves and rakes. The starter strip at the eave provides the adhesive bond for the first course of field shingles and covers the gaps between shingle tabs. At the rake, the starter strip provides a clean finished edge and prevents wind-driven rain from entering beneath the first shingle column. GAF and CertainTeed both specify eave and rake starter placement in their installation guidelines.
How many nails should be used per hip and ridge cap shingle?
Standard nailing requires two nails per cap, positioned approximately 1 inch from each side edge and 5-5/8 inches from the exposed end — placed so the next cap covers the nail heads. In high-wind zones or for enhanced wind warranties, manufacturers may require additional nails or specific placement patterns. Follow the specific manufacturer's nailing diagram for the product being installed.
Why does the manufacturer system need to match for hip, ridge, and starter?
Using GAF field shingles with CertainTeed ridge caps, or mixing manufacturers for starter strips, voids the system warranty from both manufacturers. Manufacturer warranties — including GAF's Golden Pledge and CertainTeed's SureStart PLUS — require that all system components come from the same manufacturer. The system is tested and warranted as a unit. Mixing brands introduces an untested combination that neither manufacturer will stand behind.
Technical Bulletins from GAF and CertainTeed
The information on this page is backed by official manufacturer technical bulletins. These documents provide the installation specifications, warranty requirements, and best practices that certified contractors like 1 Source Roofing follow on every project.